5 Ways to Spruce Up Naked Light Bulbs
Homes are sacred places where we can be ourselves without the fear of getting judged by others, and it only makes sense that you would want your home to look as great as it can be. As mentioned in our previous article, you can actually do this by simply revamping your light fixtures.
The good news is that you don’t have to be an interior design expert to switch up your lighting fixtures. In her discussion on how to change a light bulb, Laura Rudd shares on HomeServe, how simple the process is even saying that it’s as easy as home maintenance and DIY gets. Just make sure that before you mess with any of your light bulbs, you turn off the power and let them cool.
Or, if your light bulbs are due for a replacement anyway, work on customizing that new one out of the box. Here are some ways you can spruce up your naked light bulb:

Table of Contents
Industrial Pipe Multi-Light Fixture
The industrial look is gaining traction nowadays and there is a way for you to incorporate this look into your light fixtures.
By putting together connectors into various combinations, you can have your own industrial pipe light fixture. You can choose to paint the pipes with metallic colors such as copper, silver or gold or experiment with pastel colors and neutral tones.
After decorating, you can start fitting the pipes, feeding them with wires and placing the sockets in the right openings.
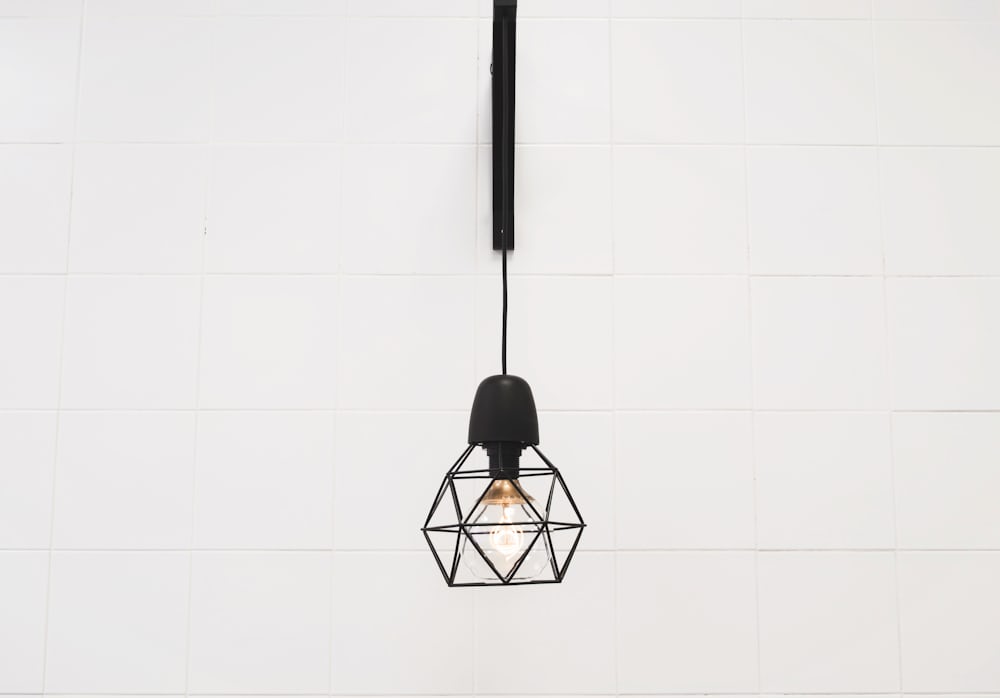
Geometric lights
HGTV mentioned geometric lights as one of the designs that have recently taken over the lighting market. It is probably because of its stylish and modern design that effectively enhances a room without being too loud. Start with a basic pendant then spray-paint it black.
Then, cut your pipes into 30 pieces of equal length and clean them with steel wool. Next, use a strong copper wire to assemble the pipes into triangles.
Lastly, you will attach the triangles to each other without forgetting to fit the pendant inside the sculpture before closing it entirely.
FROM: bobvila
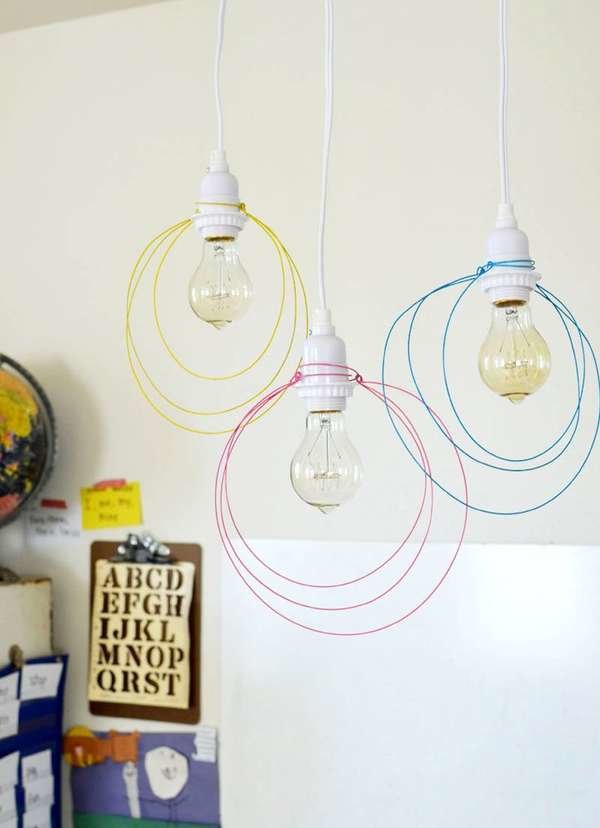
Halo lights
Want to add a little more color to your room? Then these whimsical lights are definitely the right ones for you. To top it all off, they are super easy to assemble.
Begin by measuring and cutting the wire into four lengths that slowly increases. Then, warp the shortest one into a circle that fits snugly over the top of your bulb and bend the other three into circles with loops at the end.
The next thing to do is to spray the wires with the color of your choice. Once the wires are completely dry, you can now attach the wires on the light bulb through the loops.
FROM: Bobvilla
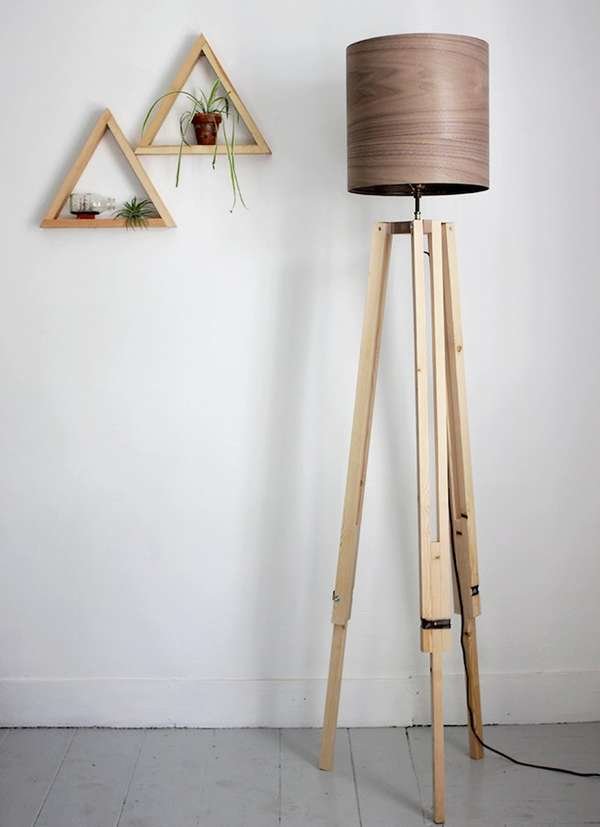
Wooden Tripod Floor Lamp
Test out your carpentry skills by making your own wooden tripod floor lamp, which The Spruce explains are currently on-trend.
To begin, you will need a lighting kit, pine boards, wood planks, assorted hardware and wood-cutting tools. Trim the boards and fit three together to create each of the tripod legs. Remember to keep the tripod legs of the same length to make sure that your floor lamp is stable.
Then, cut the plank into a triangular shape with a rectangular tab at each corner and screw one leg onto each tab.
Next, drill a hole through the plank where you plan to run the lighting kit. Finally, top your tripod with a lampshade of your choice.
Bottle lamp
2020 is all about sustainability, and you can incorporate this into your DIY light bulb project by using old wine jugs, glass water bottles, beer growlers or any kind of glass bottle you can upcycle.
To do this project, start by cleaning the bottle and making sure that no residue of the previous contents is left.
Then, get a socket, clear lamp cord, and a shade kit. Start assembling the socket and cord, by fitting the socket and cord into the top of the jar with hot glue.
Now you can screw in the light bulb, add the shade and then turn on the light.